

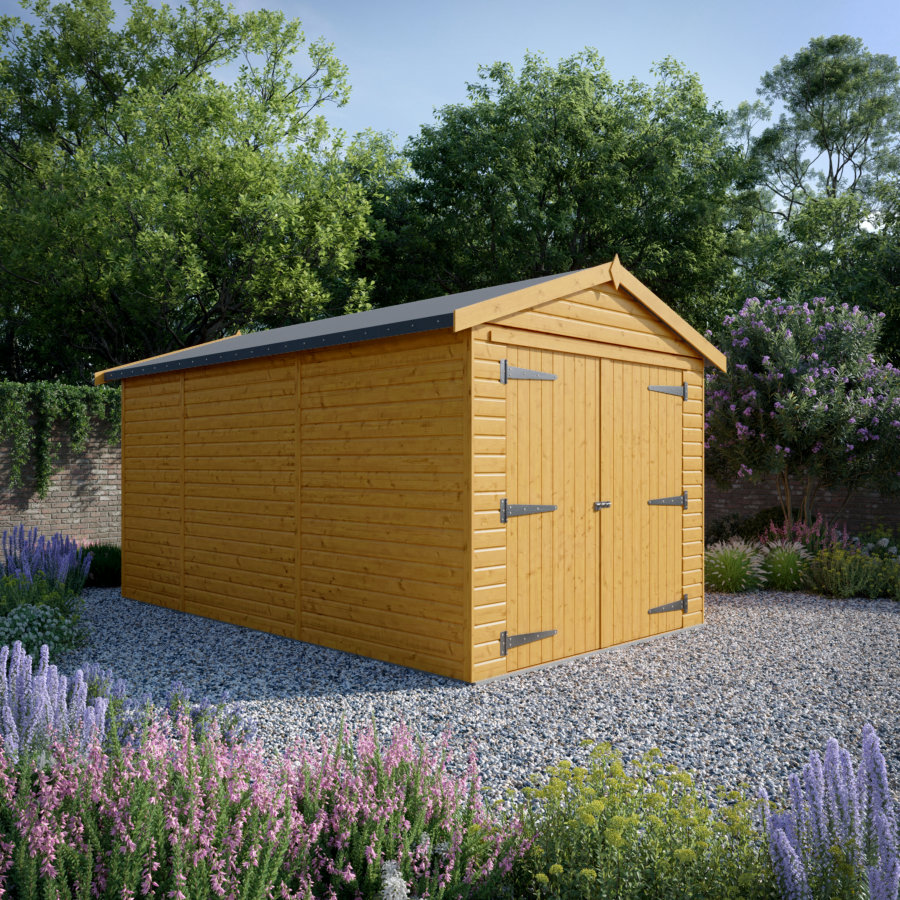

Building a solid base
Preparing a solid base for a wooden garage is crucial for ensuring stability and longevity. Here’s a step-by-step guide to help you with the process:
Materials Needed:
– Wooden pegs or stakes
– String or twine
– Spirit level
– Measuring tape
– Shovel
– Wheelbarrow (for mixing concrete, if needed)
– Compactor or tamper (for compacting the base)
– Hardcore or crushed stone
– Concrete (if using a concrete base)
– Screed board (for leveling concrete, if applicable)
– Damp-proof membrane (optional)
Steps:
1. Site Selection:
– Choose a level area that is slightly larger than the dimensions of your wooden garage. Make sure it’s clear of debris, rocks, and vegetation.
2. Mark Out the Area:
– Use wooden pegs or stakes to mark out the perimeter of the garage. Run string or twine between the pegs to create a clear outline.
3. Check for Level:
– Use a spirit level to ensure that the marked area is level. If not, you may need to do some leveling work by adding or removing soil as necessary.
4. Excavation:
– Dig out the marked area to a depth of around 15-20 cm (6-8 inches). This will allow space for the base material and, if applicable, a concrete layer.
5. Compaction:
– Use a compactor or tamper to compact the soil thoroughly. This helps to prevent settling over time.
6. Add Hardcore or Crushed Stone:
– Fill the excavated area with a layer of hardcore or crushed stone. This layer provides a stable and well-draining base for your garage. It should be compacted as well.
7. Check for Level Again:
– Ensure that the hardcore or crushed stone layer is level and evenly distributed across the area.
8. Optional Damp-Proof Membrane:
– If you’re concerned about moisture seeping through the base, consider laying a damp-proof membrane at this stage.
9. Concrete Base (If Applicable):
– If you’re using a concrete base, pour and level the concrete on top of the compacted hardcore layer. Use a screed board to achieve a smooth, even surface.
10. Allow for Curing (if using concrete):
– If concrete is used, allow it to cure for the recommended time as per the manufacturer’s instructions.
11. Final Checks:
– Ensure that the base is level and even. Check all dimensions to make sure they match the requirements of your garage.
12. Let It Settle (if using crushed stone/hardcore only):
– If you’re not using concrete, let the crushed stone or hardcore settle naturally. This may take a bit of time, so be patient.
Once the base is prepared, you’re ready to assemble and install your wooden garage. Ensure that it’s securely anchored to the base for stability. If you have any doubts or specific requirements, it’s always a good idea to consult with a professional contractor or builder.